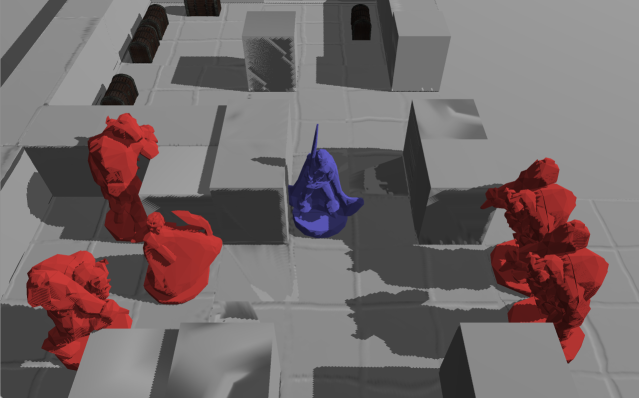
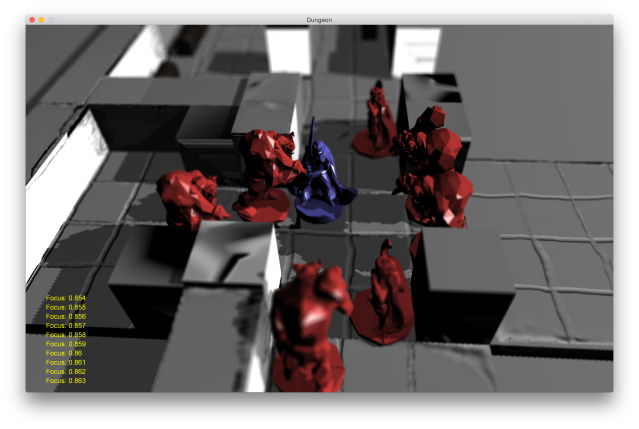
Revisit the deferred rendering implementation took me a little more time than expected and it wasn’t easy, but I’m very excited with the results and the flexibility that has been achieved.
In contrast with my last post, this one is gonna be all about visual improvements. So, let’s begin.
Truth be told, my original goal was to enhance just the post-processing pipeline, adding support for more than one image effect at the same time and then accumulating results. But I ended up refactoring the entire deferred render pass and added a couple of new things on the way. Because, you know, refactors are fun 🙂
As before, the Deferred render path is split into three stages: G-Buffer generation, lighting and post-processing.
The G-Buffer
The G-Buffer is composed of five render targets organized as follows:

Both world and view space normals are stored for different purposes. As a matter of fact, view space normals are generated just from the geometry itself, without any bump mapping applied to them since some post-processing effects achieve better results with less information (i.e. SSAO)

Lighting
The second step is to compute lighting and generate a colored frame. Usually, this step involves two passes: one for lighting and one for the final composition, but I’m doing both in a single pass. There’s room for some improvements here, but I leave that to my future self.

Lighting is computed from world space information. Shadow maps are applied here after the scene is lit.
Post-Processing
Once the scene is generated, image effects are applied. A couple of auxiliary buffers are used (following the “ping-pong buffer” technique), accumulating results.

Concerning image effects, the new additions are Depth of Field and SSAO. There was a previous implementation for SSAO, but the new one performs blurring in order to reduce noise and improve the final results.


Final Comments
In order to debug the entire process, I made it possible to render the results of all the passes at the same time. It is a costly operation, but extremely useful when trying to understand what’s going on. In fact, I’m planning to add this feature to other systems as well in a future iteration.

That’s it for now. I’m done with refac–
Wait…
Those shadows look awful…
