Right foot, left foot (I)

It’s been a while since I’ve introduced a NEW feature in Crimild. I mean, this is not a refactor or an improvement over something already there, but a completely new thing. Exciting, right?

So, without further ado…

NAV MESHES!!

Navigation meshes are the other big feature to be included in Crimild’s next release (soon). Simply put, a NavMesh is a data structure used for navigation (duh) and pathfinding on complex spaces. It defines a set of polygons (i.e. triangles), describing areas that are traversable by agents in a simulation, simplifying things like collision detection with walls and other static objets. Basically, it defines what “the floor” means for our game.

The current implementation is pretty basic, but I implemented a tool for loading nav meshes from geometry described in OBJ files. That way, you can create a whole level and its nav mesh in a 3D editor like Blender (and I don’t have to write a level editor at this stage). Once loaded, triangles are linked together automatically based on edge sharing. It’s simple, but it’s more than enough for my secret project ;).

There’s a demo already available in the examples projects with a simple scene and a walking character. Check it out:

This slideshow requires JavaScript.

The next step is to add support for “bridges” in the geometry (as in characters walking below other parts of the level) and pathfinding tools (like A* or other techniques).

See you next time!


Early pathfinding implementation

During the last few days I’ve been working on a simple pathfinding technique that could be applied to the Dungeon demo in order to prevent our hero (or his enemies) to walk through walls. In the next paragraphs I’m going to describe how I did this, but if you want more details you can always take a look at the code (it’s a bit messy right now, but I’m working on it).

So, let’s make a dungeon:

A random dungeon

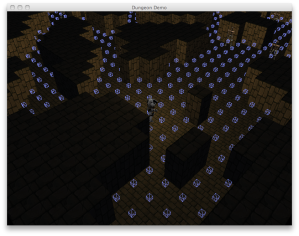
The first step was simple: identifying which sections of the dungeon are available for our hero to walk in. Then, a waypoint is placed on each empty square:

Using waypoints to indicate empty space

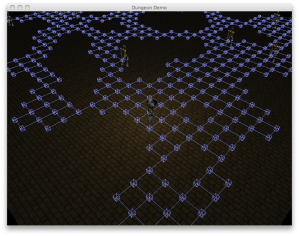
Let’s remove all walls to see things more easily:

No walls

As the image suggests, the logic behind this is very simple. Characters are moved from one waypoint to the next following a path. But in order to do that, we need to identify neighbors for each waypoint in the scene:

Connecting neighbors

Simply put, if there is a line between any two waypoints, then there is a path and a character can use it to traverse the scene.

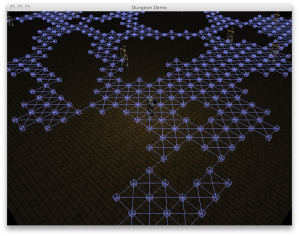
We can set any number of neighbors per waypoint. Increasing the number of connections allow characters to move more natural. For example, since I want my characters to move diagonally, we need to define additional links:

Linking waypoints diagonally

OK, now comes the hard path: Pathfinding. I spent some time reading about different pathfinding techniques and how to implement them, but since I didn’t have enough time (GearBox’s Borderlands has a lot of guilt about that) I ended up implementing my own algorithm.

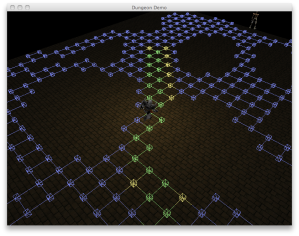
It’s actually extremely simple. If I want to move from waypoint A to waypoint B, I’m going to move to whatever neighbor of A is closest to B. As I said, a very simple algorithm:

Computing a path between two waypoints

The image above shows the pathfinding algorithm in action. Green waypoints indicate the path that the character must follow to reach his destination. Yellow is used for those waypoints that were evaluated while computing the path but finally discarded.

I must note here that I wasn’t sure about the accuracy of the resulting path using an algorithm as simple as this, but in the end it turned out to be very accurate. It’s far from perfect, but it gets the job done:

Pathfinding in action